Summary
Ice dams, freeze-thaw cycles, and snow loads leave behind specific failure points, like lifted flashing, cracked sealant, brittle shingles, and moisture at the eave line. Ground-level inspection, an attic moisture check, flashing condition at penetrations and transitions, debris and moss removal, and gutter clearing are the five things that Northern Idaho and Spokane homeowners should prioritize before the April storm season hits. Small repairs caught in the spring can save you thousands of dollars you might otherwise pay if you ignore them until they become bigger issues.
| Time to Read | ~7 minutes |
| What You’ll Learn |
|
| Next Steps |
|
Spring arrives slowly in the Inland Northwest. Snow comes off the roof in stages, temperatures swing between 20 and 60 degrees in the same week, and most homeowners assume that if nothing leaked this winter, the roof is fine.
That assumption can often be a very costly mistake.
The damage winter leaves behind is often invisible until spring dries things out. Ice dams, freeze-thaw cycles, and months of snow load stress shingles, flashing, and sealant in ways that don’t show up immediately. Spring is the window to find those problems while they’re still small and inexpensive. Miss it, and you’re dealing with emergency calls in July when every roofing crew in the region is booked out for weeks.
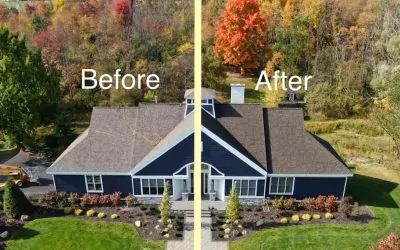
This checklist, from the pros at Remedy Roofworks, covers everything you need to know about what to do before storm season picks up as a homeowner in the Spokane and North Idaho area.
Why You Should Inspect Your Roof Every Spring
Most roof damage doesn’t come right out and announce itself. A shingle lifts a quarter inch, a lashing seam opens by two millimeters, and the sealant around a pipe boot cracks and pulls back from the edge. None of it is visible from the ground, and none of it causes a problem until water finds it.
Spring is the diagnostic window. The roof has just come through its hardest season, and any weakness it developed is now exposed. Temperatures are mild enough to work safely, and problems are still small enough to fix affordably. And storm season (with the highest wind events of the year getting ready to hit in April and May) hasn’t started yet.
A repair caught in spring typically runs $400 to $2,500. The same problem found after a summer of water infiltration can mean decking replacement, interior damage, and a bill that looks entirely different (with more zeros).
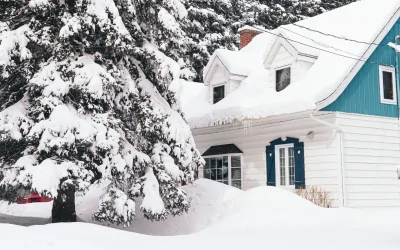
How Heavy Snow Loads, Ice Dams, and Freeze-Thaw Cycles Create Hidden Damage
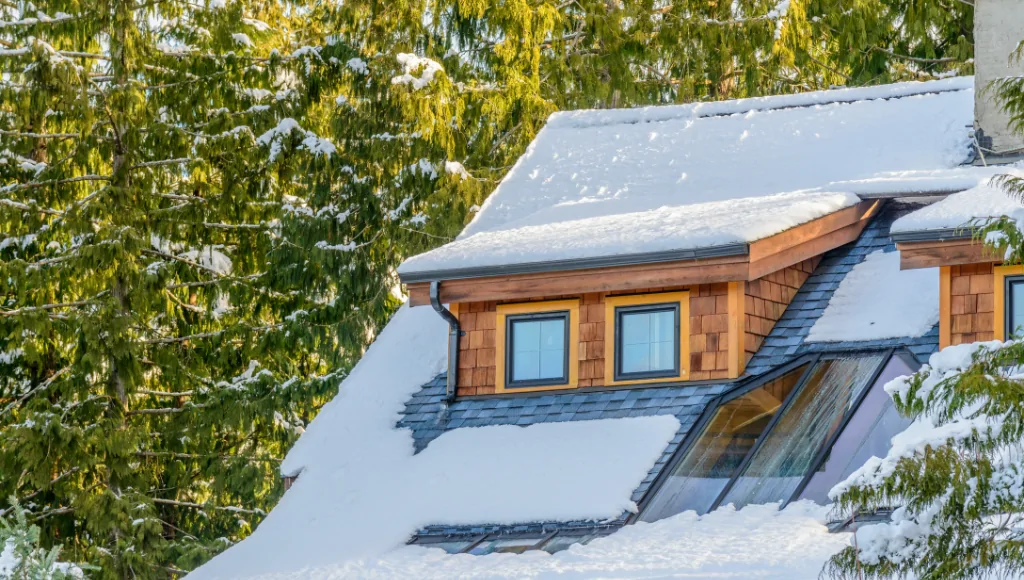
Understanding what actually happened to your roof between November and March makes the checklist easier to do with purpose.
| Winter Stress Factor | What It Does to Your Roof |
| Snow Loads | Sustained weight on shingles, decking, and fasteners over weeks or months. |
| Ice Dams | Heat escaping through the attic melts snow above, water refreezes at the cold eave, and backs up under shingles. |
| Freeze-Thaw Cycles | Water enters small gaps, freezes, expands, and widens those gaps. And the cycle repeats. |
| Cold Temperature Brittleness | Aged asphalt shingles crack more easily under physical stress in low temperatures. |
A roof that looked fine going into October may have compromised flashing, lifted shingle tabs, cracked sealant, or moisture already working into the decking by the time March ends. The inspection below is how you find out.
Your Spring Roofing Checklist

Work through these steps in order. The first two require no ladder and no roof access. The exterior checkpoints can be done from the ground with binoculars. If anything you find raises a concern, note it and bring it to a professional rather than getting on the roof yourself.
✔ Ground-Level Visual Inspection
Walk the full perimeter of your home and look for the following:
- Shingles on the ground or in the gutters
- Granule buildup at the base of downspouts (granules look like coarse dark sand)
- Shingles that are visibly lifted, curled, or buckled
- Any sagging along the roofline
- Damaged or missing flashing at the roof edge, dormers, or wall-to-roof transitions
- Staining or streaking on fascia boards
A pair of binoculars helps considerably. Walk the home in morning light from both sides to reduce glare.
✔ Checking Your Attic
This is the step most homeowners skip, and it’s often the one that catches water infiltration before it becomes visible damage inside the living space.
When to check: After a dry stretch of several days following the last significant snowmelt.
What to bring: A flashlight.
What to look for:
- Water stains or dark rings on the sheathing and rafters
- Damp or compressed insulation, especially near the eaves
- Daylight visible through the roof deck (a serious finding)
- Frost patterns or condensation on the underside of the deck
- Mold or mildew smell even without visible moisture
If you had visible ice dams this winter, start your inspection directly above the eave line. That’s the most common infiltration zone.
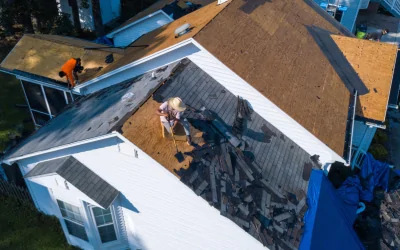
✔ Key Exterior Checkpoints
- Flashing fails more often than shingles do and is responsible for a large share of spring leaks in this region. Check for flashing at:
- All roof penetrations, including plumbing vents, HVAC stacks, and skylights
- All four sides of the chimney base
- Every wall-to-roof transition, like dormers, additions, and attached garages
Look for lifting, rust, gaps in sealant, or sections that have separated from the surface they’re meant to seal.
- Shingle condition is the easiest thing to look for during your inspection (and one of the easiest to repair if there’s an issue). Here’s what to look for:
- Curling or lifting at the edges or tabs
- Cracking across the shingle surface
- Missing tabs or whole shingles
- Bare or shiny patches where granules have worn away
- Dark streaking or visible green growth from algae or moss
- Sealant and caulking issues can let water into your home, and they’re very easy to overlook unless you are actively looking for them. Check around pipe boots, skylight edges, and flashing seams.
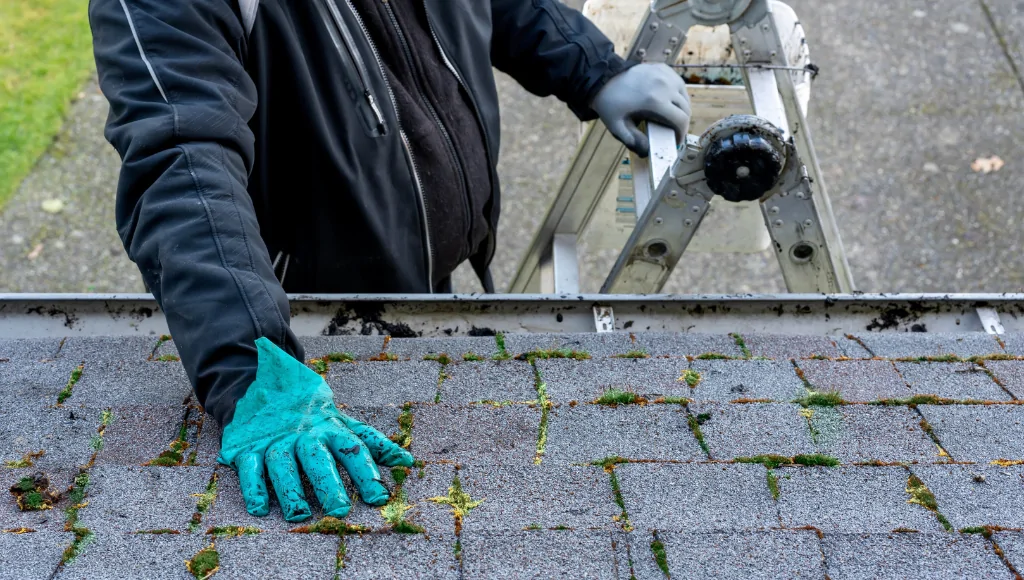
✔ Cleaning Pine Needles, Moss, and Debris
Tree cover is heavy throughout the Spokane-Coeur d’Alene corridor, and debris left on roofs over winter is not just an aesthetic issue.
| Debris Type | Why It Matters |
| Pine Needles | Acidic, hold moisture, accelerate granule loss in valleys and along ridges |
| Moss | Holds water against shingles, physically lifts tabs over time |
| Leaves and Branches | Trap moisture in valleys and create pooling |
Safe removal for homeowners: a soft broom or leaf blower for loose debris, low-pressure water rinse if needed. Do not pressure-wash asphalt shingles, because it will strip the granules. Zinc or copper strips near the ridge line help prevent long-term moss regrowth. If moss has significant depth or the shingles underneath look compromised, stop and call a professional.
✔ Inspecting and Clearing Gutters and Downspouts
Gutters blocked after snowmelt are a common cause of fascia damage, foundation moisture, and roof-edge deterioration. Work through these in order:
- Clear all debris: pine needles, decomposed leaves, and granule buildup
- Check pitch: water should flow toward the downspouts without pooling
- Look for sections that have pulled away from the fascia (ice weight breaks hangers)
- Inspect downspout connections and extensions: discharge should be well away from the foundation
- Run a hose through the full system and watch for leaks at seams and joints
If your gutters consistently collect heavy granule deposits from your shingles, note it. Granule loss at that volume indicates a roof aging faster than expected.
Spring Storms in the Spokane-Coeur d’Alene Corridor vs. Your Shingles
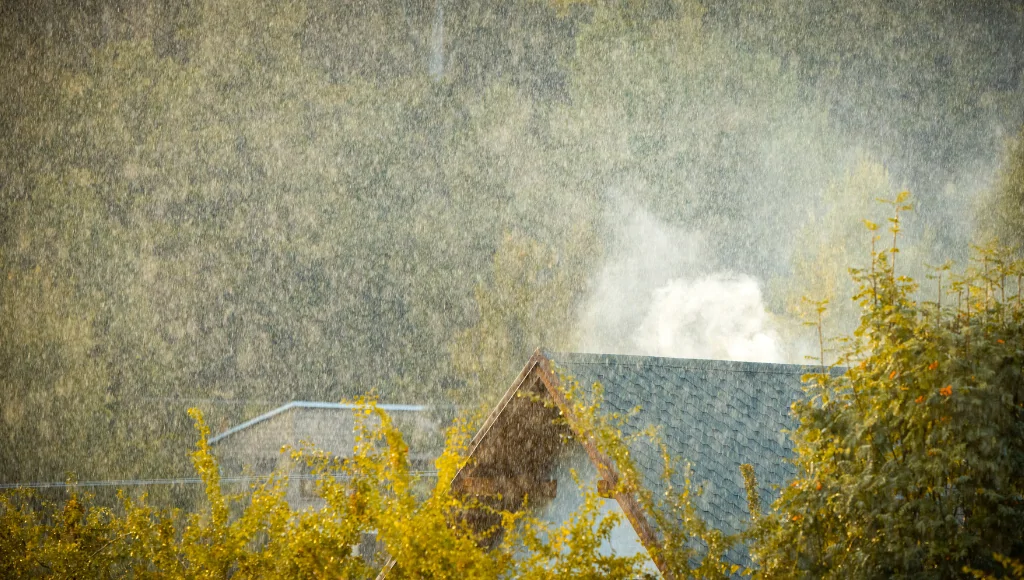
April and May bring the highest-wind storm events of the year to this region. And this just happens to be the same period when roofs are most vulnerable after a hard winter.
A shingle that survived months of snow and ice may not survive a 50 MPH April wind event if the sealant is cracked or the tab is already lifting. Freeze-thaw cycles leave aged shingles more brittle and more prone to wind uplift than they were going into fall. The winter didn’t have to visibly damage your roof to leave it in worse shape for what comes next.
Another thing to note in our particular region is that hail is always a possibility through late spring. If a storm moves through your area, a post-event inspection is worth scheduling, even if nothing looks obviously wrong from the ground. Trust us when we say you want to know your roof’s condition before the next round of stress arrives, not after.
When to Call a Professional

A homeowner can safely handle the ground-level inspection and the attic check, but it’s definitely time to stop and call a professional if you find any of the following:
- Active moisture in the attic, including wet insulation or staining that looks recent
- Daylight visible through the roof deck
- Sagging anywhere on the roofline or in the attic structure
- Multiple shingles are missing or significantly damaged
- Flashing that has fully separated or is visibly buckled
- Heavy moss growth that requires chemical treatment or removal tools
- Any situation where assessing the problem further requires getting onto the roof
Over 150,000 Americans end up in the hospital each year after a roofing-related incident. Getting on a roof (pitched or not) without proper footwear, safety equipment, and experience is dangerous, which is why we suggest you inspect it from the ground and call us to go up and check it out.
How a Professional Inspection from Remedy Roofworks Helps Prevent Costly Repairs
Our team at Remedy Roofworks offers free roof inspections for homeowners in Spokane and Northern Idaho with no obligation, along with a written summary of what’s found. A professional inspection can catch issues that are easy to miss from the ground, such as lifted flashing, early shingle cracking, or spots where ice dams may have allowed water to get underneath the roof before visible stains appear.
If there is damage, our approach is always to find the least expensive fix first. For asphalt shingle roofs between 10 and 20 years old that are structurally sound but showing signs of age, an all-natural Roof Maxx rejuvenation treatment is often the right call before replacement enters the conversation. Treatment is a fraction of the cost of replacement and can extend a roof’s life by up to five years per application. Catching a problem in spring and addressing it with a targeted repair or restoration is almost always the better outcome.
An inspection takes about 45 minutes, and we’ll never pressure you to book anything.
Call (208) 415-1227 or fill out our form to schedule your free assessment before storm season picks up.